Updated on April 27, 2025
Note: This operation does not compromise system security. All skipped setup options can be reconfigured later from the desktop.
Video Guide
Graphic Tutorial
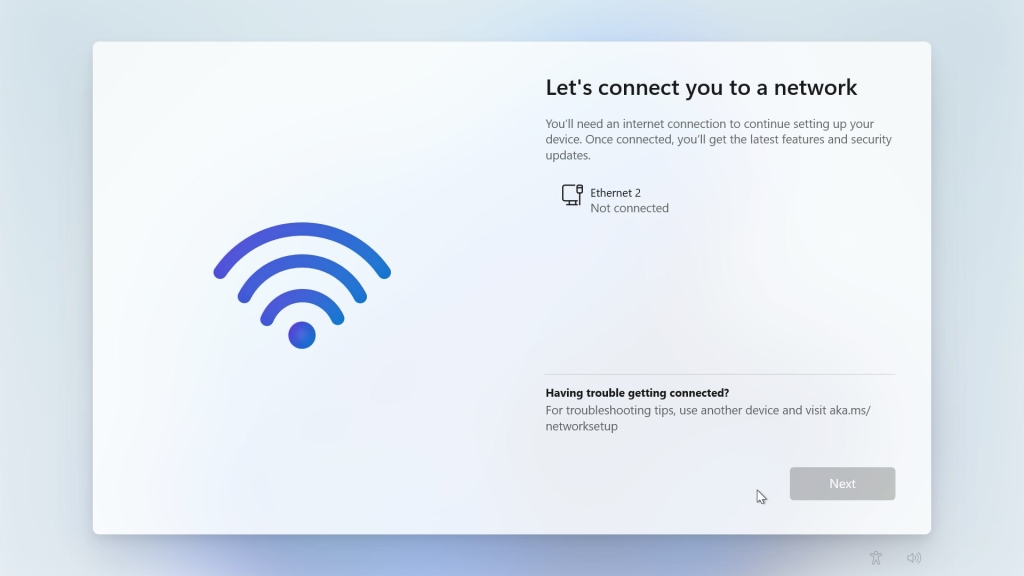
1.Windows Setup Enforces Internet Connection by Default, Hiding Local Account Creation
2.At the current screen, press Ctrl+Shift+F3 → a command prompt will appear. Type OOBE\BYPASSNRO.CMD and hit Enter → the PC will instantly reboot. (Note: The “\” symbol may vary by region, e.g., “¥” in Japanese systems.)
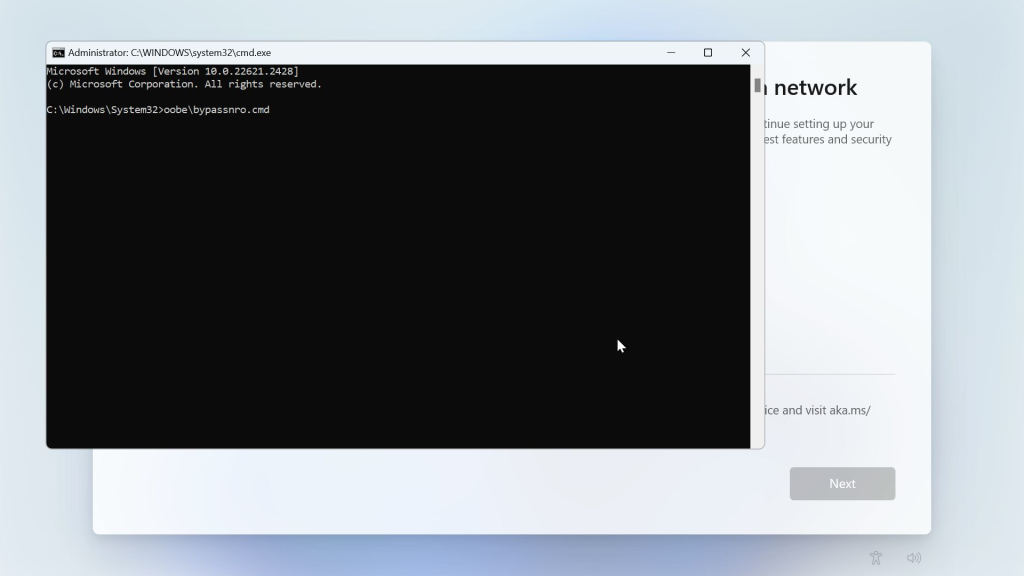
3.The system will restart and return to the initialization interface.

4.After reboot, return to network connection step → Now visible: “No internet” option (labeled “I don’t have internet“) → Click to proceed offline
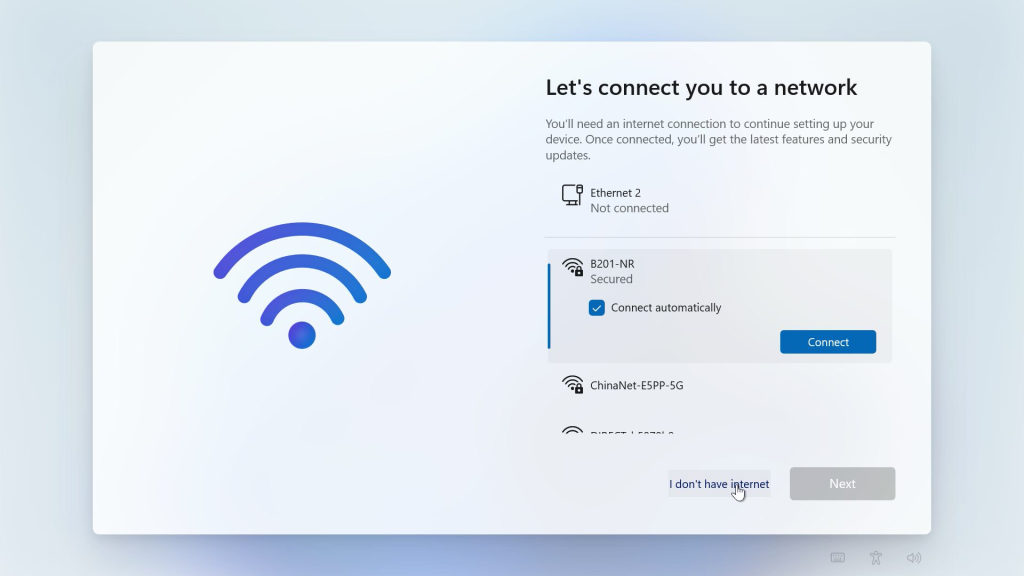
5.Select “Continue with limited setup” to confirm offline mode → Complete remaining steps → System will create local account (no Microsoft account/PIN required)

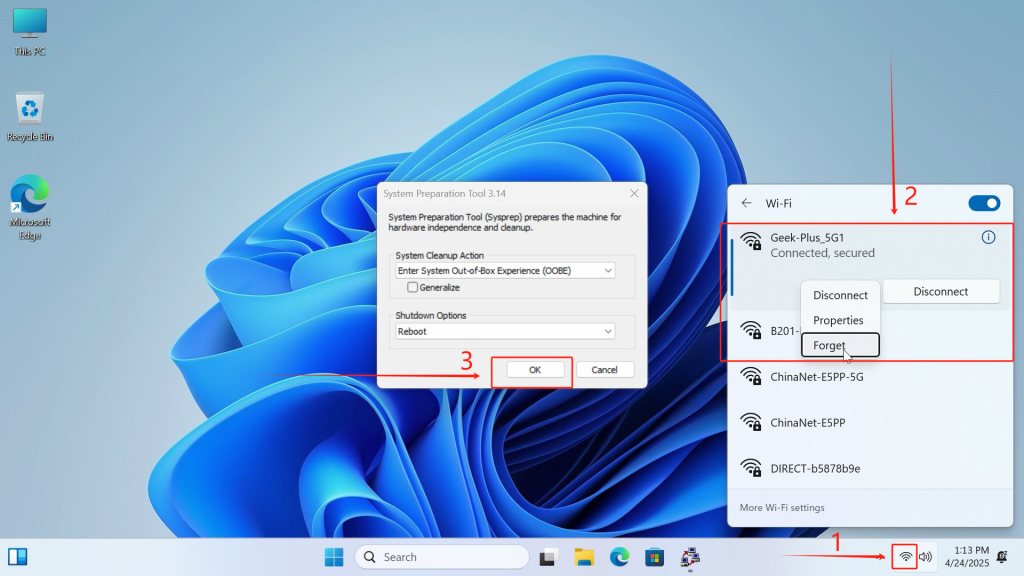
6.When the network is connected, the system initialization settings will skip the networking option by default, and you can only enter the system desktop by logging in to a Microsoft account. At this time, to enter the system desktop without a network, you need to return to the initialization settings page to reselect no network connection (you must disconnect the network – just unplug the network cable for a wired network, and if you have already connected to WIFI, you must enter the administrator mode to choose to forget the connected wifi to avoid automatically connecting to the wifi connected in the initialization settings.)
Presse shift+F10 on any interface of the system initialization, the machine will restart and enter the system desktop in administrator mode, click the connected wifi option and select “Forget“, then click “OK” in the pop-up window in the center of the desktop, the system will restart and re-enter the initialization interface
Vielen Dank fürs Zuschauen. Wenn es irgendwelche Fehler gibt, sind Ihre Korrekturen willkommen.