Aggiornato con il 6 novembre 2024
I file di sistema vengono forniti con i driver installati in fabbrica, quindi non è necessaria un'installazione aggiuntiva.Attualmente, per l'installazione del sistema GEEKOM sono supportate solo le unità USB, mentre i dischi rigidi esterni non sono supportati per l'installazione.
Video Tutorial
Text Tutorial
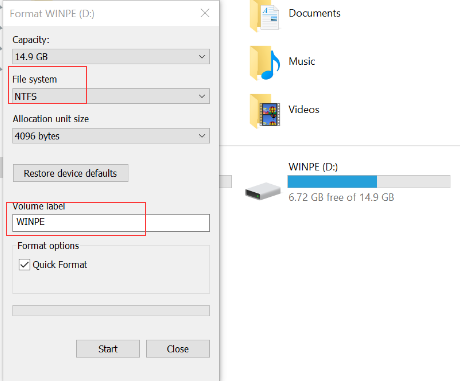
1.Prepari un disco U con una capacità superiore a 16 GB. Lo inserisca in un computer funzionante, lo formatti con NTFSe rinominarla "VINCOLO“.
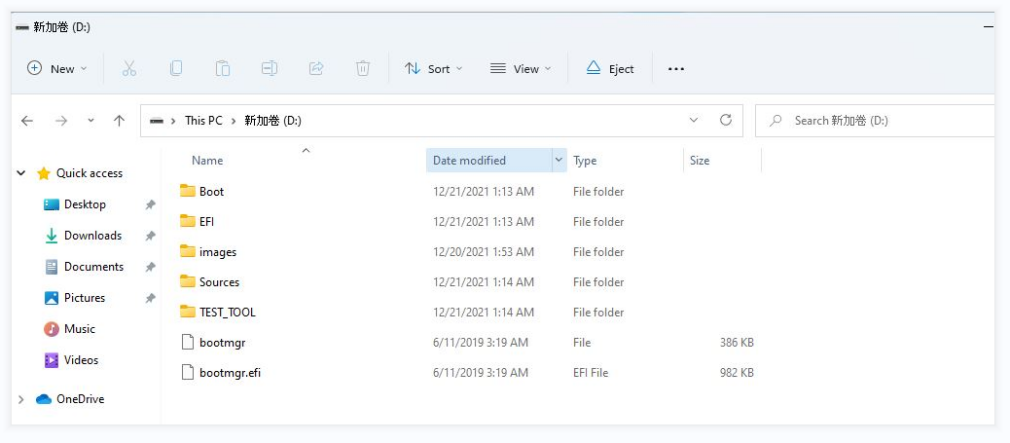
2.Download the Windows system from the GEEKOM official website to your desktop and copy all of the files to the U disk’s root directory.
Nota: non copi solo la cartella, copi tutto.
3.Insert the U disk into the Mini PC, then press the power button to start the system. After that , quickly press “F7” several times to enter the BIOS, select the U disk, and press “Enter”.
Nota: non scolleghi la chiavetta USB durante il processo di installazione del sistema operativo.

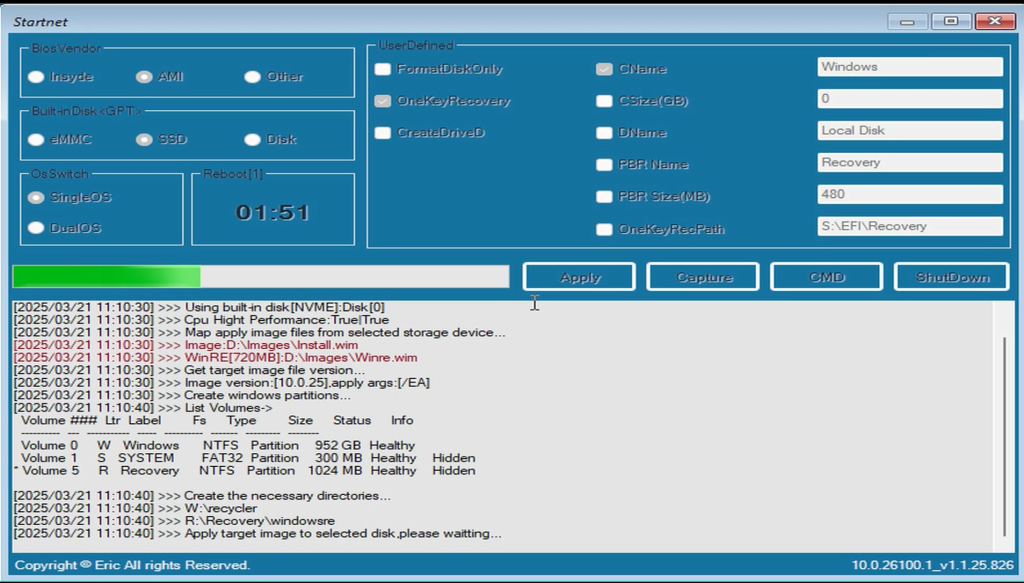
4.The system will start installing automatically.This process will take about five minutes. Please be patient.
If you encounter other issues during the installation, you can also refer to this tutorial to identify the specific cause of the problem.
How to resolve failures when using a USB drive to install the system, BIOS, or EC?
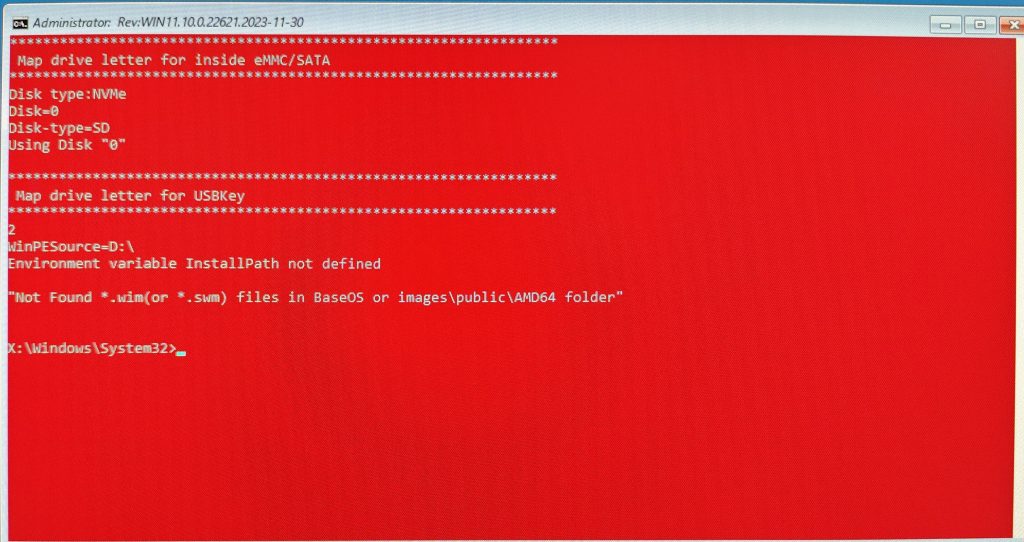
5.If the installation fails, as shown in the picture below, it may be because the name of your USB flash drive has not been changed to “winpe“.
6.After the image deployment is complete, remove the U-disk and restart the system.
7.After restarting the Mini PC, follow the on-screen prompts to complete the language, country, region, account, password, and other settings.
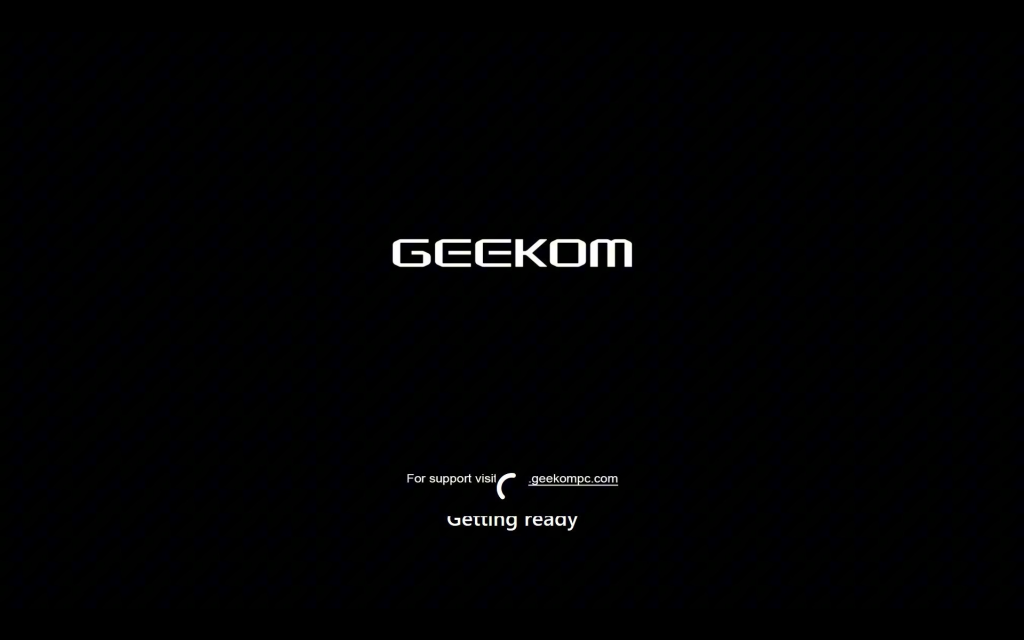
8.Once the configuration is complete, the computer will restart, please be patient and wait for the loading to complete.Below is the system’s OOBE interface, which is the starting point for the initial operating system setup.

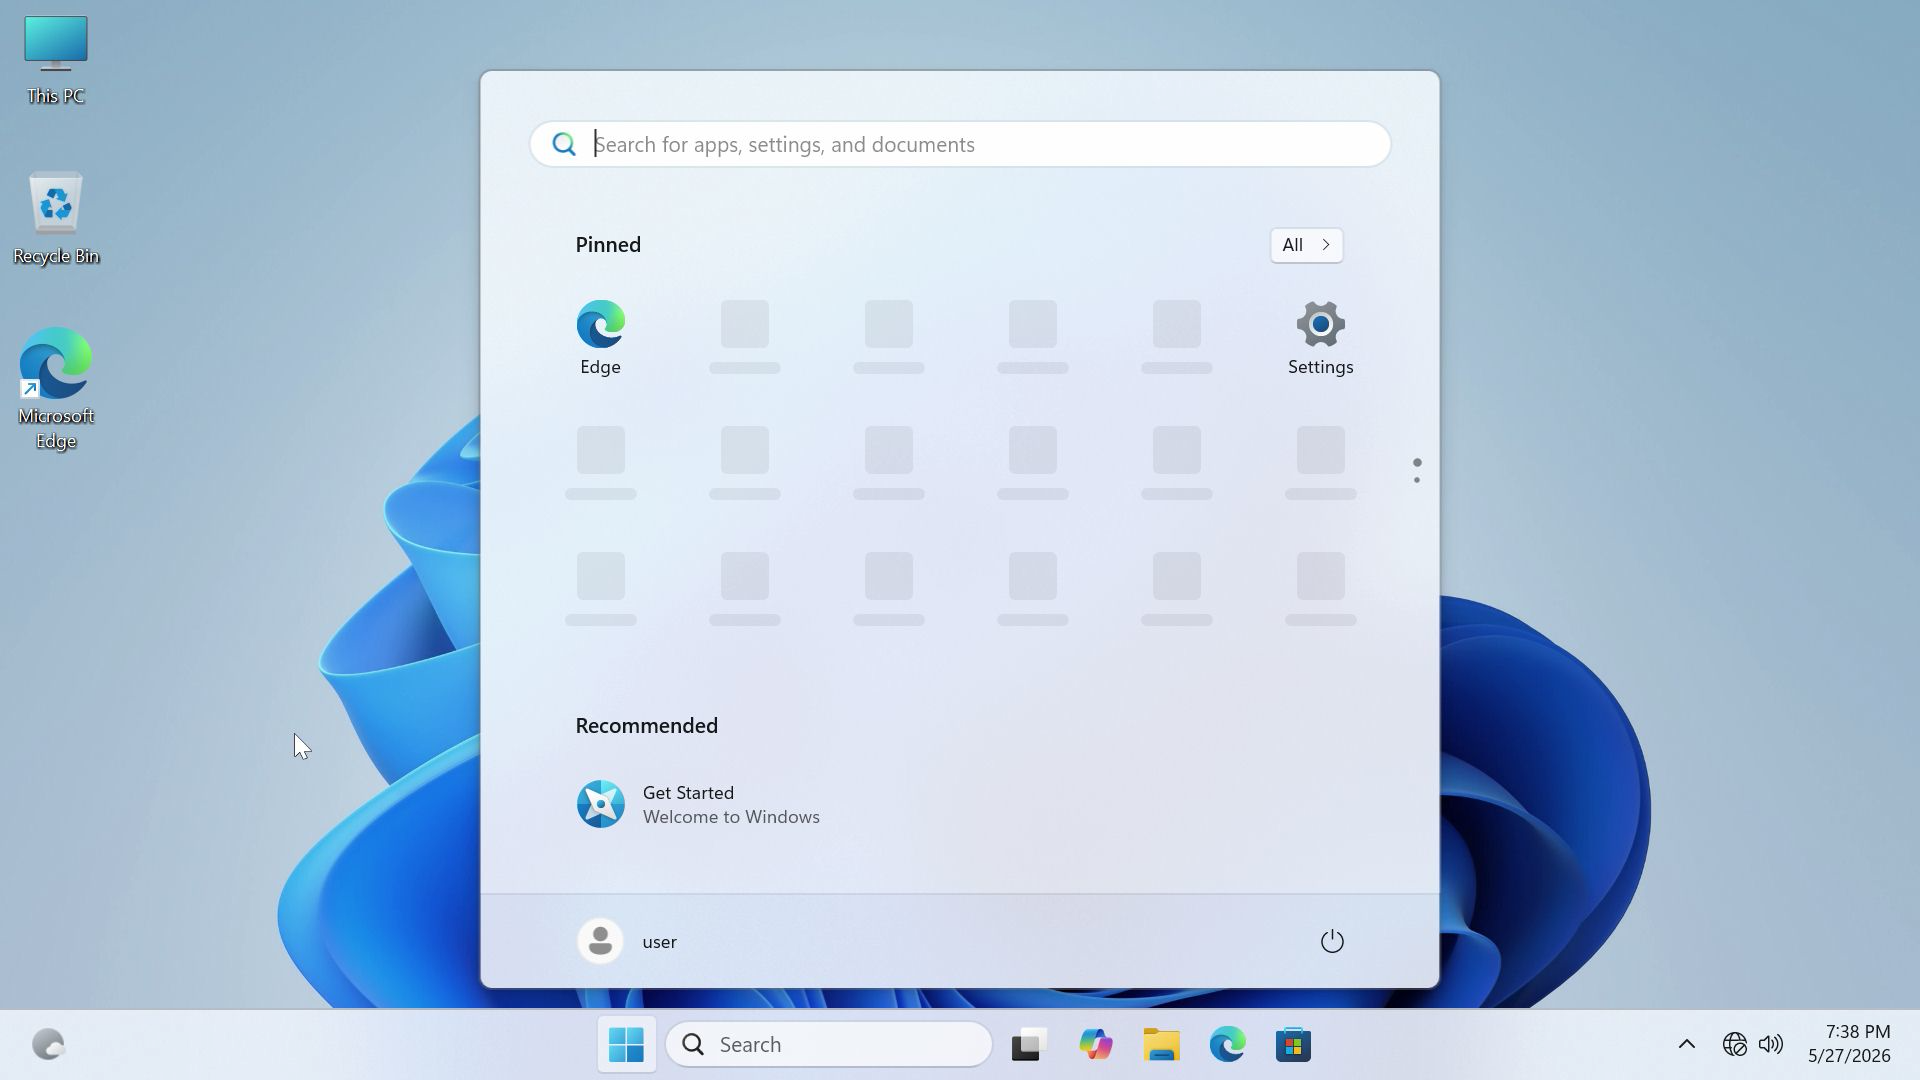
9.Once the loading is complete, the computer will finish installing Windows System.The image below shows the system desktop interface after the initial system setup is completed.
Grazie per aver guardato. Se ci sono errori, le vostre correzioni sono benvenute.