
Learn how to prepare a USB flash drive, install the matching GEEKOM factory Windows system, and complete first-time setup.
1. Introduction and scope
This guide covers automatic Windows deployment using a GEEKOM-provided factory system package for your specific model. It is not a general guide for Microsoft ISO files or installation media created with other tools.
The matching factory package includes drivers for the supported model. After installation, check that the hardware works correctly. This installation method supports USB flash drives only; external hard drives and external SSDs are not supported.
Video tutorial
2. Preparation and data backup
- A working Windows computer to download and extract the package and prepare the USB drive.
- A USB flash drive larger than 16 GB. A 32 GB or larger drive is recommended, with enough space for all extracted files.
- The GEEKOM factory system package matching your model and Windows license edition, such as Home, Pro, or IoT.
- The GEEKOM computer to reinstall, a display, a keyboard, and a stable power supply.
Before starting: Back up important files from both the computer and USB drive to a separate device, and confirm that the backup can be opened. Disconnect unrelated USB storage devices.
3. Download the system package and prepare the USB drive
3.1 Download the matching package
- Check the model on the device label, then download the corresponding factory Windows package from GEEKOM’s official support website or use the package supplied by GEEKOM support.
- Confirm the supported configuration and Windows edition. If the model or edition is unclear, ask support before downloading or installing.
- Save the download to the working computer and extract the complete archive. If extraction reports an error, resolve it before proceeding.
3.2 Format the USB flash drive
- Insert the USB drive into the working computer. Open File Explorer → This PC, and identify the correct drive by its capacity and drive letter.
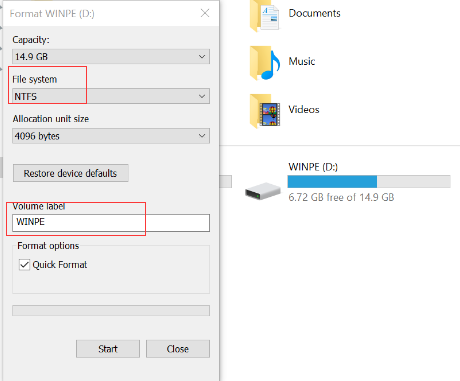
- Right-click the USB drive and select Format. Set the file system to エヌティーエフエス and the volume label to ウインペ.
- Confirm that the USB drive has been backed up, then start formatting and wait for it to finish.
3.3 Copy the extracted files to the USB root
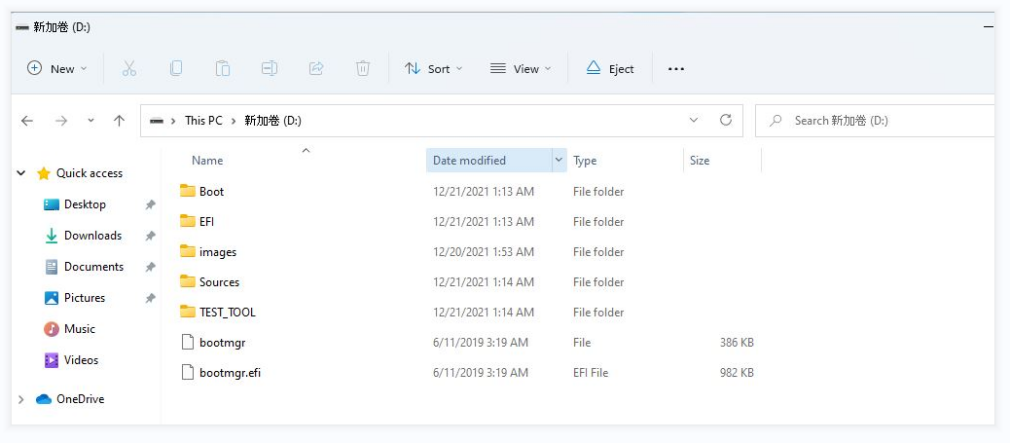
- Open the extracted package folder and copy all installation files and folders inside it to the root of the USB drive.
- Do not copy only the compressed archive or place the entire package inside an extra parent folder on the USB drive. The root is the first location you see when opening the drive.
- Wait for copying to finish. Confirm that the USB volume label is ウインペ and that the files are complete, then safely eject the drive.
4. Boot from the USB drive
4.1 Disable Secure Boot first
- Shut down the GEEKOM computer and insert the prepared USB drive.
- Press the power button, then immediately press Delete (Del) repeatedly to enter the BIOS settings.
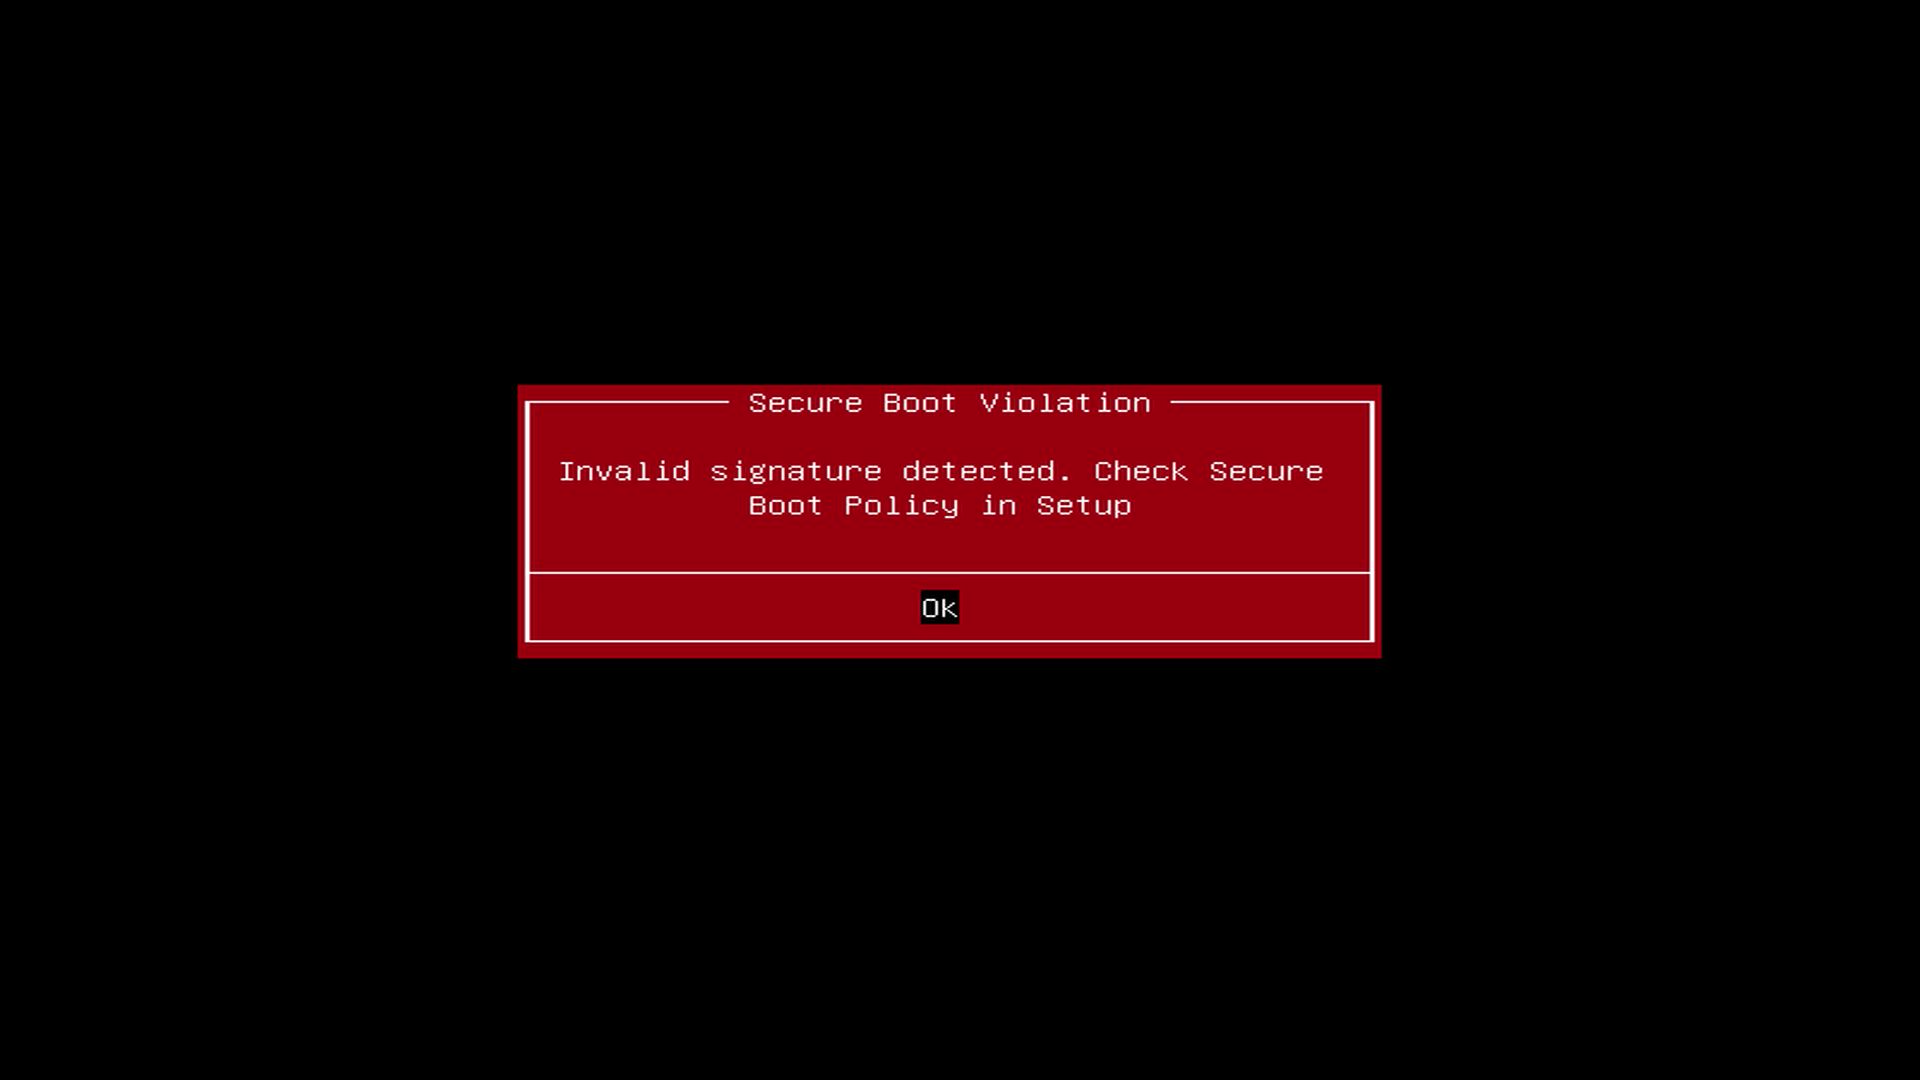
- Find セキュアブート under the セキュリティ または Boot tab and set it to Disabled. The menu location may vary by model.
- 選択 Save & Exit, confirm that you want to save the settings, and restart. Then follow the next section to select the USB boot entry.
For detailed instructions, see How to disable Secure Boot in the BIOS Menu.
4.2 Select the USB boot entry
- As the computer restarts after saving the BIOS settings, immediately press F7 repeatedly to open the boot menu.
- Select the entry for your USB drive. If both UEFI and non-UEFI entries appear, select the UEFI entry for the drive, then press 入る.
F7 opens the boot-device selection menu. It does not refer to the BIOS settings screen. USB entry names vary by drive and model.

5. Automatic deployment and completion
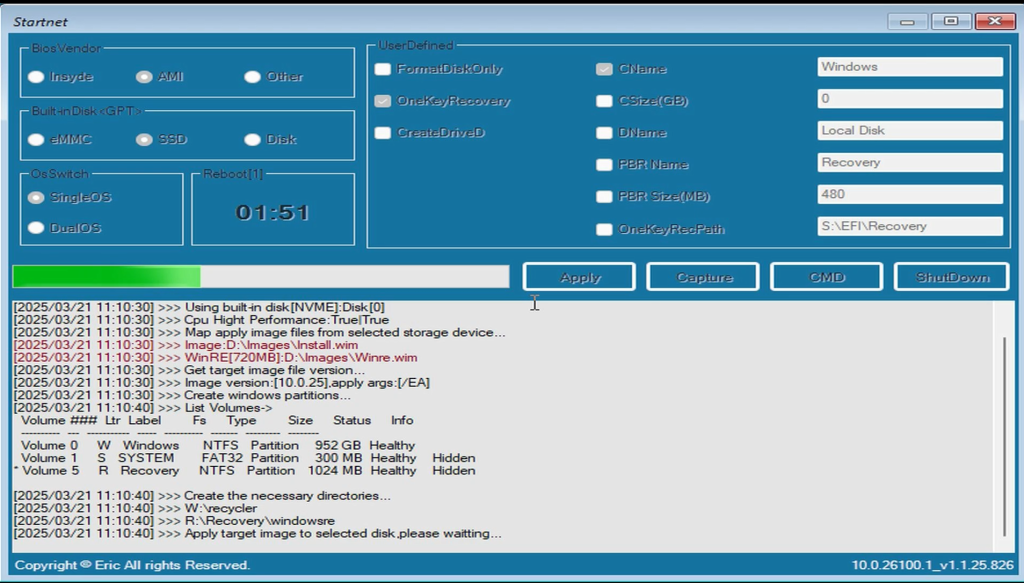
After booting from the USB drive, the package starts automatic deployment. Keep the USB drive connected and the power supply stable throughout deployment.
Installation time depends on the package size, USB speed, and computer configuration. Wait for the deployment result rather than using a fixed five-minute estimate.
Confirm completion before removing the USB drive
- Wait for the package’s explicit success or completion message and follow its instructions. Do not treat a progress screen or “Getting ready” as proof that deployment has completed.
- If the package asks you to remove the USB drive and restart, do so in that order. If it restarts automatically, follow the package instructions for when to remove the drive.
- If the message is unclear or an error appears, keep a photo of the full screen and contact GEEKOM support. Do not guess whether deployment has succeeded.
6. First-time setup and checks
6.1 Allow Windows to finish preparing
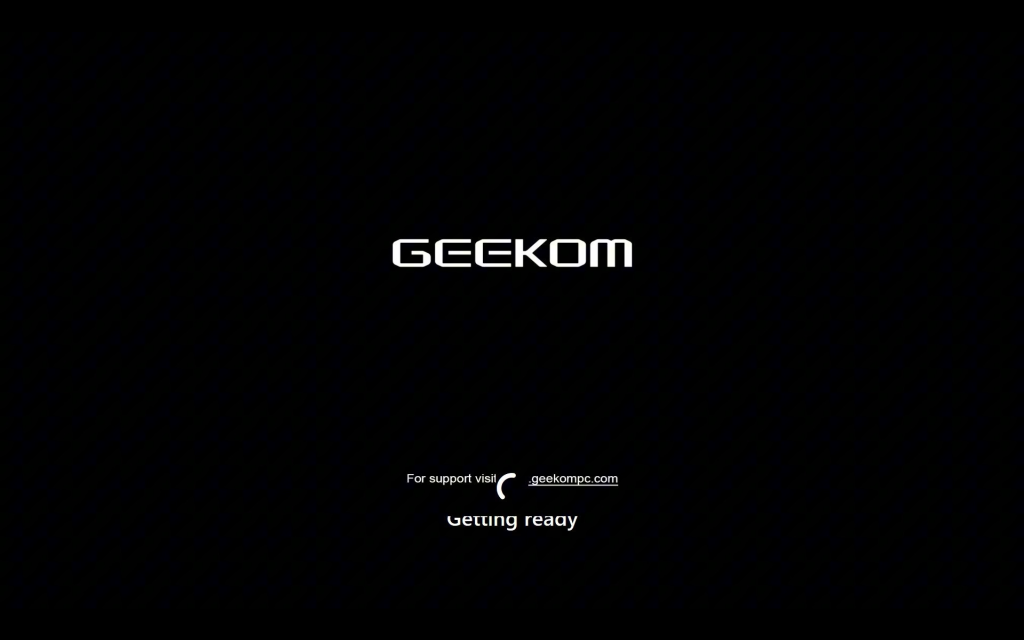
After successful deployment, boot from the internal drive. Windows may display “Getting ready” and restart while preparing the system. Keep the power connected and wait.
6.2 Complete the initial setup
Follow the on-screen prompts to select your country or region, language, keyboard layout, network, account, and privacy settings. The available steps vary by Windows version and edition.

6.3 Check the system after reaching the desktop
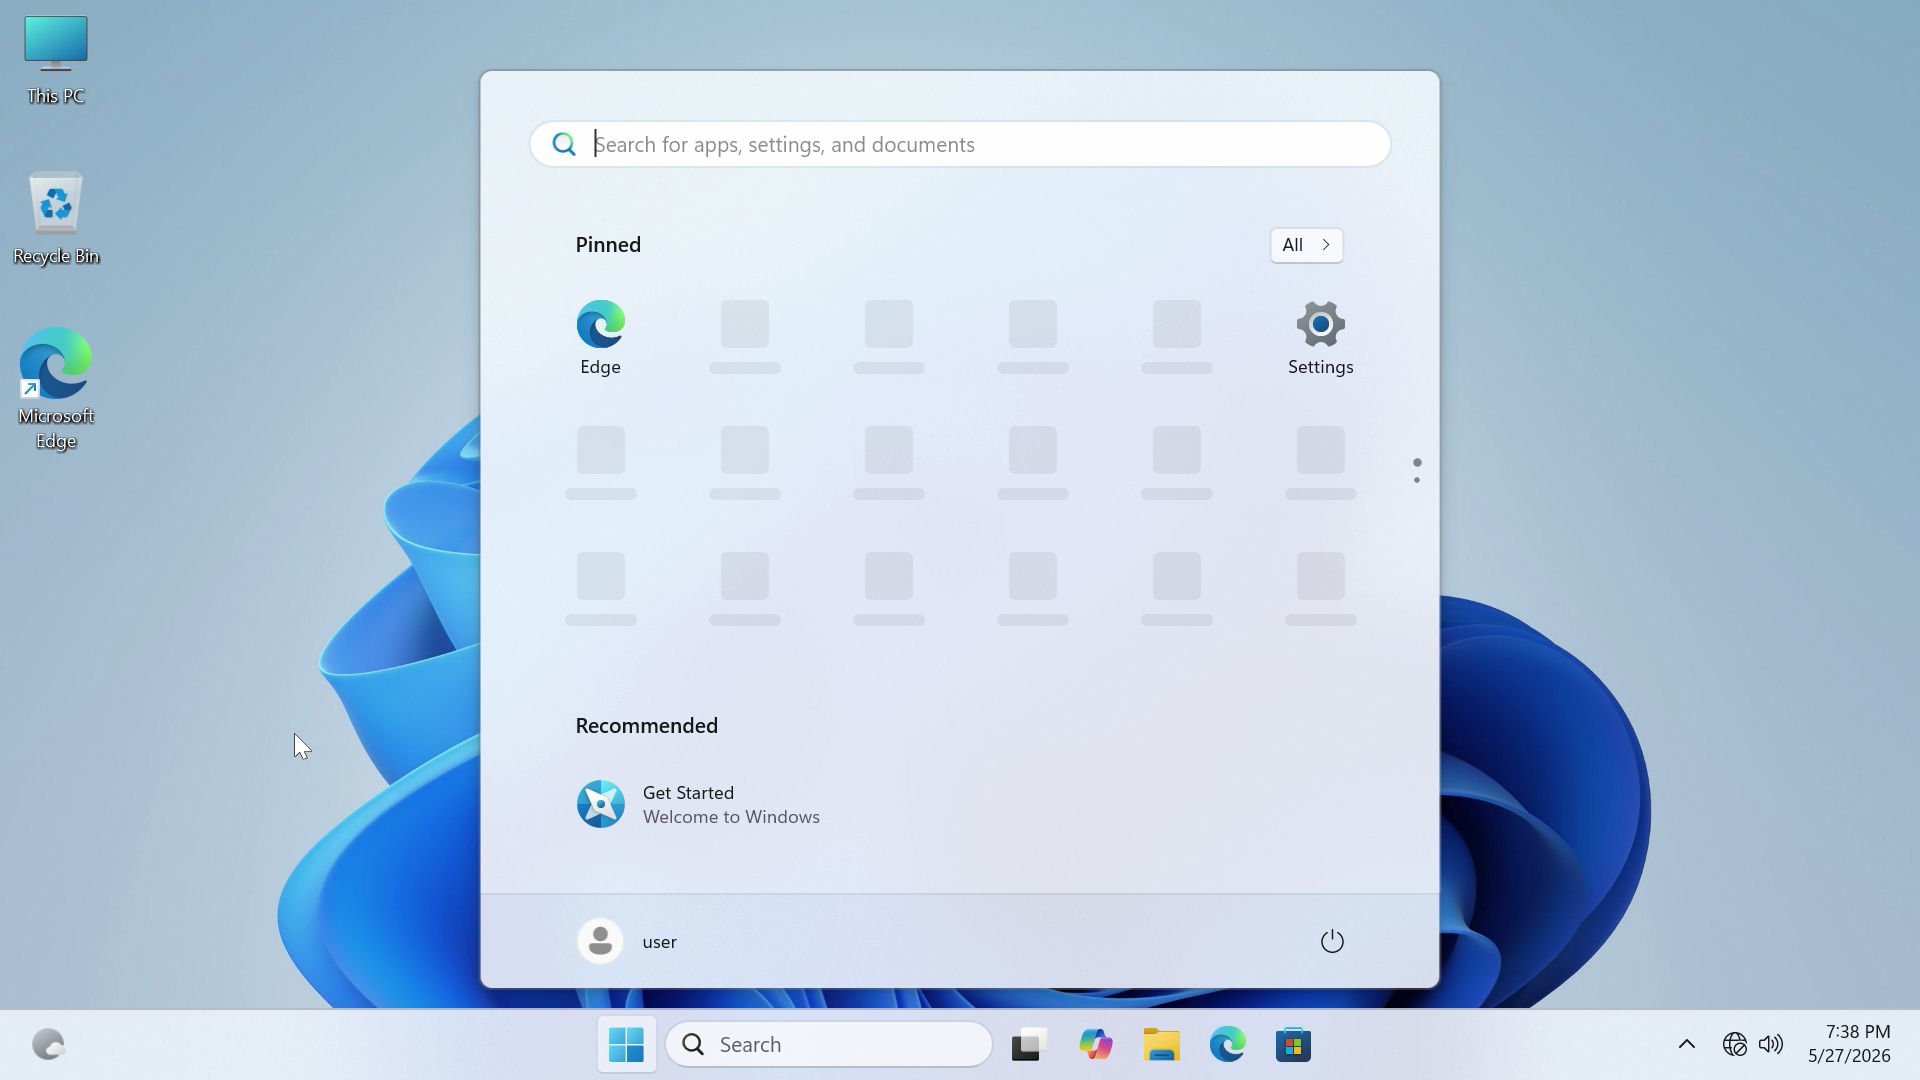
- Check the activation status in Windows Settings. The installed edition must match the device’s license; allow an internet connection for activation where applicable.
- Check network access, sound, display output, and commonly used USB devices.
- Open Device Manager and check for unknown devices or warning icons.
7. Troubleshooting
| Issue | What to check |
|---|---|
| USB drive is missing from the boot menu | Reconnect the drive while the computer is off, try another USB port, and recheck the extracted files and folder structure. If it is still missing, send support a photo of the boot menu. |
| The installer cannot find a WIM or SWM image | Check the WINPE volume label, complete extraction, USB root directory, and missing or incomplete files. This error is not necessarily caused by the drive name alone. |
| The computer starts the installer again after restarting | Avoid running deployment again. Once deployment is confirmed complete, remove the installation USB as instructed and boot from Windows Boot Manager on the internal drive. |
| Windows is not activated | Connect to the internet, confirm that the installed edition matches the original license, and send support the activation error code if the problem persists. |
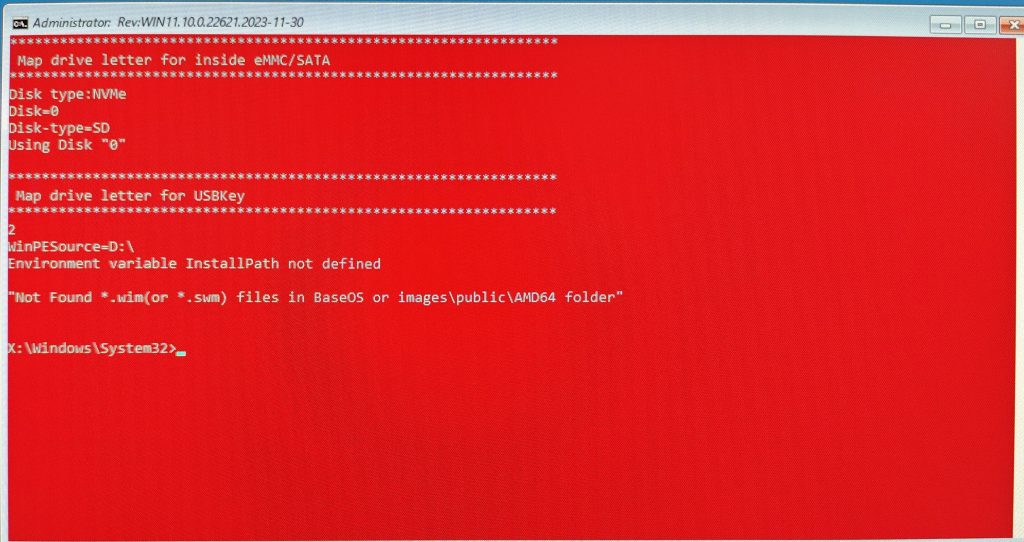
Related guide: Troubleshooting USB installation failures for the system, BIOS, or EC

 日本語
 English
 Deutsch
 English (UK)
 English (Australia)
 Français
 English (Canada)
 Italiano
 Español
 Русский