2024年11月6日更新
システムファイルには工場出荷時にドライバがインストールされているため、追加のインストールは不要です。現在、GEEKOMシステムのインストールに対応しているのはUSBドライブのみで、外付けハードディスクドライブはインストールに対応していません。
Video Tutorial
Text Tutorial
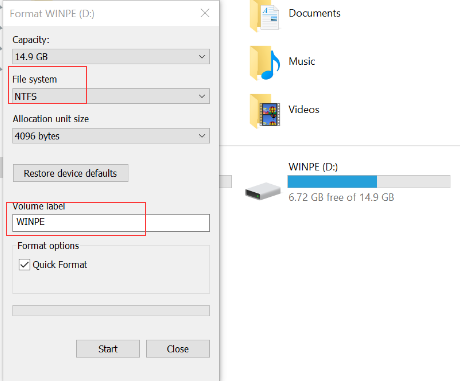
1.16GB以上のUディスクを用意します。作業中のコンピュータに挿入し、次の方法でフォーマットします。 エヌティーエフエスという名前に変更します。ウインペ“.
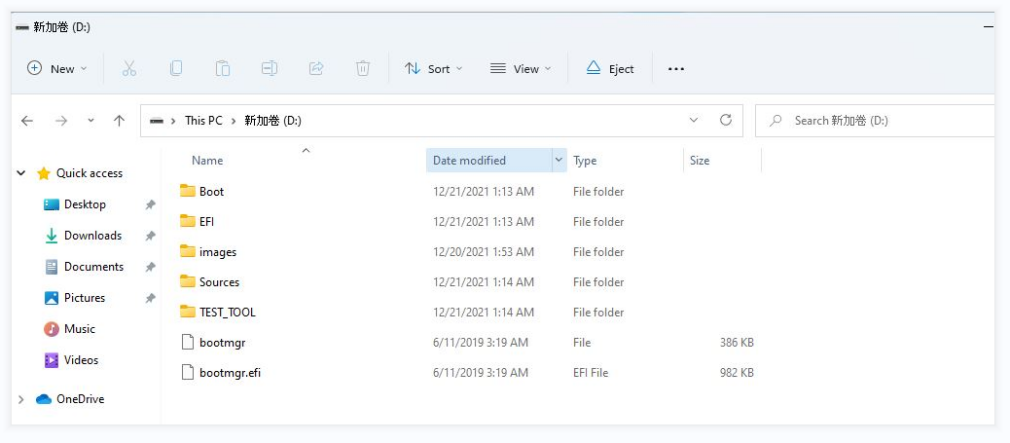
2.Download the Windows system from the GEEKOM official website to your desktop and copy all of the files to the U disk’s root directory.
注意:フォルダだけをコピーするのではなく、すべてをコピーしてください。
3.Insert the U disk into the Mini PC, then press the power button to start the system. After that , quickly press “F7” several times to enter the BIOS, select the U disk, and press “Enter”.
注意:OSのインストール中にUSBフラッシュドライブを抜かないでください。

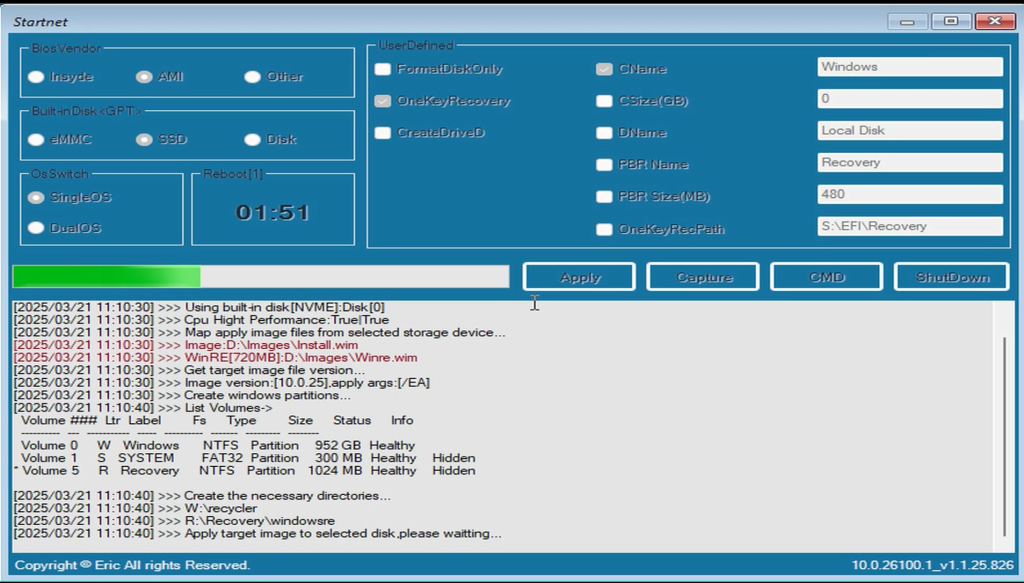
4.The system will start installing automatically.This process will take about five minutes. Please be patient.
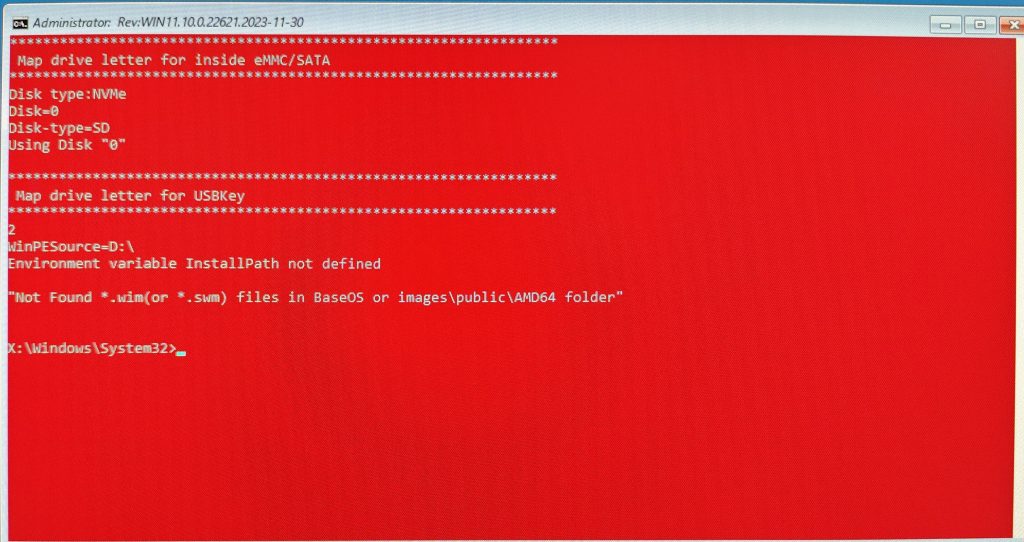
If you encounter other issues during the installation, you can also refer to this tutorial to identify the specific cause of the problem.
How to resolve failures when using a USB drive to install the system, BIOS, or EC?
5.If the installation fails, as shown in the picture below, it may be because the name of your USB flash drive has not been changed to “ウインペ“.
6.After the image deployment is complete, remove the U-disk and restart the system.

7.After restarting the Mini PC, follow the on-screen prompts to complete the language, country, region, account, password, and other settings.
8.Once the configuration is complete, the computer will restart, please be patient and wait for the loading to complete.Below is the system’s OOBE interface, which is the starting point for the initial operating system setup.

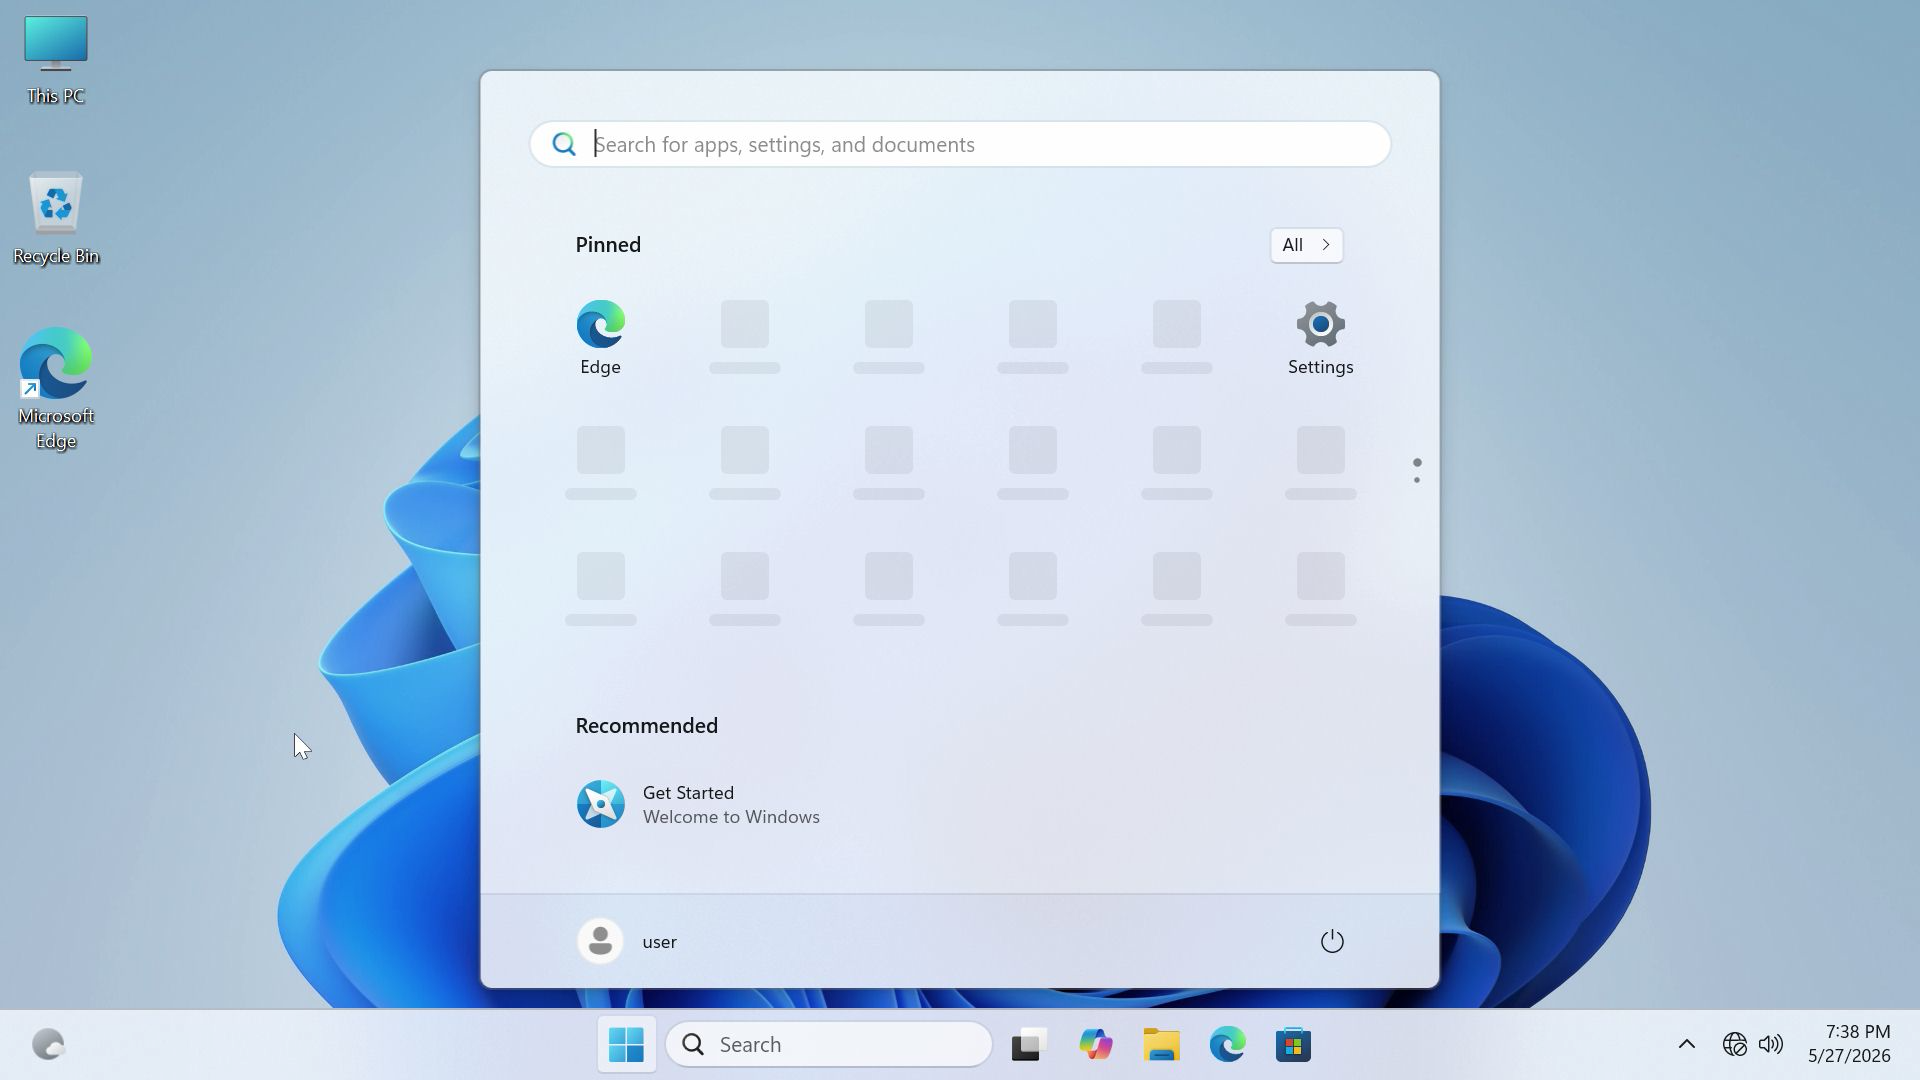
9.Once the loading is complete, the computer will finish installing Windows System.The image below shows the system desktop interface after the initial system setup is completed.
ご視聴ありがとうございます。間違いがありましたら、訂正をお願いします。